

Wiring LEDs 101

Connecting Evan Designs LEDs to power, adding additional wires, wiring switches, and more.
How do I wire my mini LEDs? This is one of the most commonly asked questions at Evan Designs. In this article you will learn everything you need to know and more about wiring our mini LEDs in your project. Whether your goal is to wire 1 chip LED in a diecast police car or 100 MEGA LEDs for dollhouse lighting, following the simple steps below will ensure your modeling success.
1. Choose a Power Source
In order to light your LED project, you will need a power source to supply them with power. It is very important to match the voltage of your power source to the voltage of your LEDs. Mis-matched voltage leads to LEDs burning out or running dimly. To learn more about voltage, visit our article What is Voltage for an in-depth scientific analysis.
If you don’t already have a power supply you get to choose which voltage to use.
All unwired LEDs operate at between 2 and 3 volts. When wiring our LEDs we add resistors to all LEDs that are configured for use with voltages above their design voltage. One Common mis-conception is that LEDs operating at higher voltages are brighter. ‘In actuality using 3 Volts with our 3 Volt LEDs provides the save voltage as using 12 Volts with our 5-12 Volt LEDs
-
3 Volt
If you have selected 3 volt mini LEDs you can choose from a coin cell battery holder, a AA battery pack, a AAA battery pack, or a 3 volt power adaptor. See our article on LED specifications to see exactly how many miniature LEDs can be run off a single battery and for how long. Some customers prefer 3 Volt LEDs for miniature projects since most 3 Volt LEDs do not require resistors.Resistors require a larger hole when you need to pass wire through a tight opening. The exception where LEDs have resistors at 3 Volts is for steady Red, Yellow or Orange LEDs. 3 Volts is a good choice for battery powered projects unless you have something that requires more voltage like one of our Sirens

-
5-12 volt DC only
5-12 volt tiny LEDs can be used with our 9 volt battery snap or our 12 volt adapter. If you have your own power adaptor it is should be one that is Regulated*. select LEDs in this range when you use a siren or one of our LED circuits that require more than 3 Volts.
-
7-19 volt AC or DC
7-19 volt hobby LEDs are typically used with any Transformer that is not regulated. This include all Model Train and Slot Car transformers*.
*Regulated Power vs UnRegulated LED Should only be operated on Batteries or Regulated Power. If you plan to use LED on an UnRegulated Power Supply you should get our 7- 19 Volt AC/DC LEDs. We add a full wave bridge rectifier, resistor and capacitor to each of our 7-19 volt LEDs. In addition to a shorter life the use of unregulated power supplies can result in undesirable behavior of flashing LEDs and many LEDs attached to circuits.
Now that you have your battery powered LEDs, matched with the correct voltage power source, let's get into the wiring!
2. Identify Your Wires
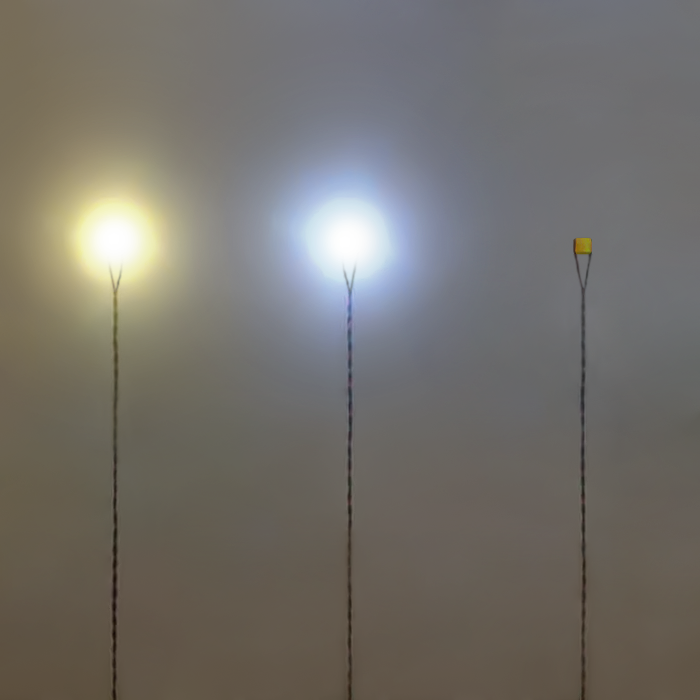
At Evan Designs, we use two types of coated wires on our LED light kits, our red and black kynar wire shown in figure A or our red and green magnet wire shown in figure B.
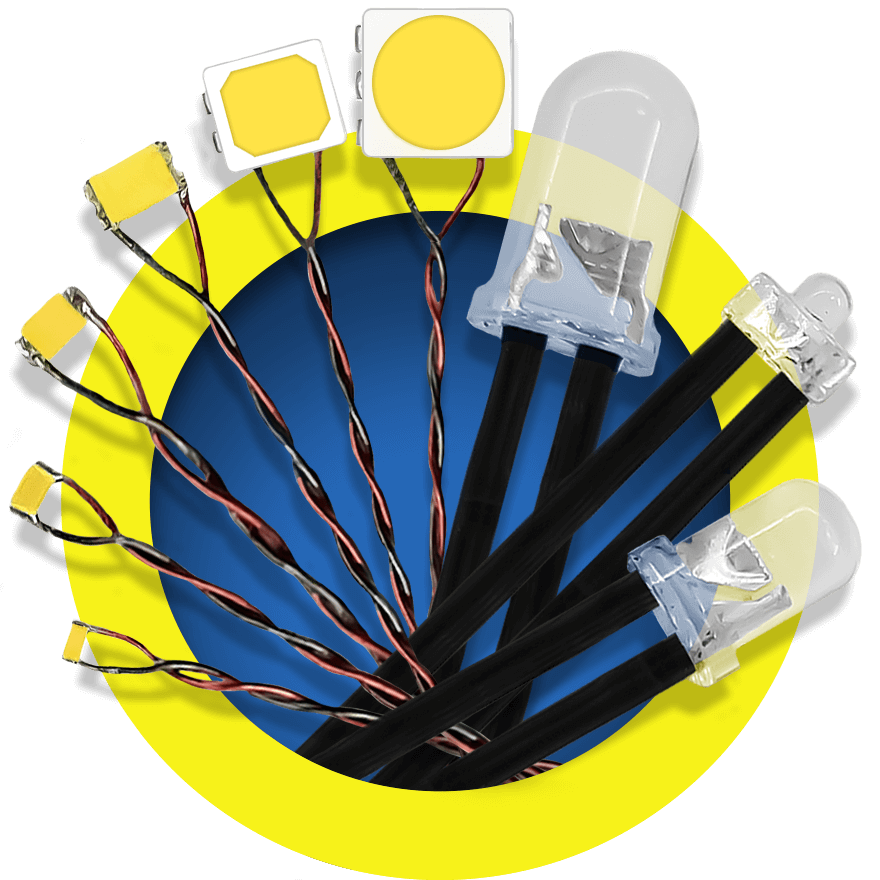
Kynar Wire is silver tinned copper wire with a very tough insulation coating. We use this wire on all our 1.8mm, 3mm & 5mm bulb LEDs
Magnet Wire We use this wire on all of our Surface Mount LEDs. The magnet wire is of a slightly smaller size than our Kynar wire, but it’s thinner yet strong. Magnet Wire is enamel coated copper providing a good product to use on this type of LED. Great for use when snaking the LED’s wire through tight spaces.
When extending wire it is fine to use either type of wire. A few Common questions we are asked about Magnet Wire are. 1) Is Magnet Wire Magnetic or 2) Why the name? The name Magnet Wire is based on its original use. The Windings associated with Electric Motors as these motors have magnets. The wire is not magnetic.
No matter which wire you have, the RED wire coming from the tiny LED is always the POSITIVE lead of the LED. You will then have either a black or a green wire running from the other terminal of the bright LED. This is the NEGATIVE lead of the micro LED.
Figure B

3. Wiring
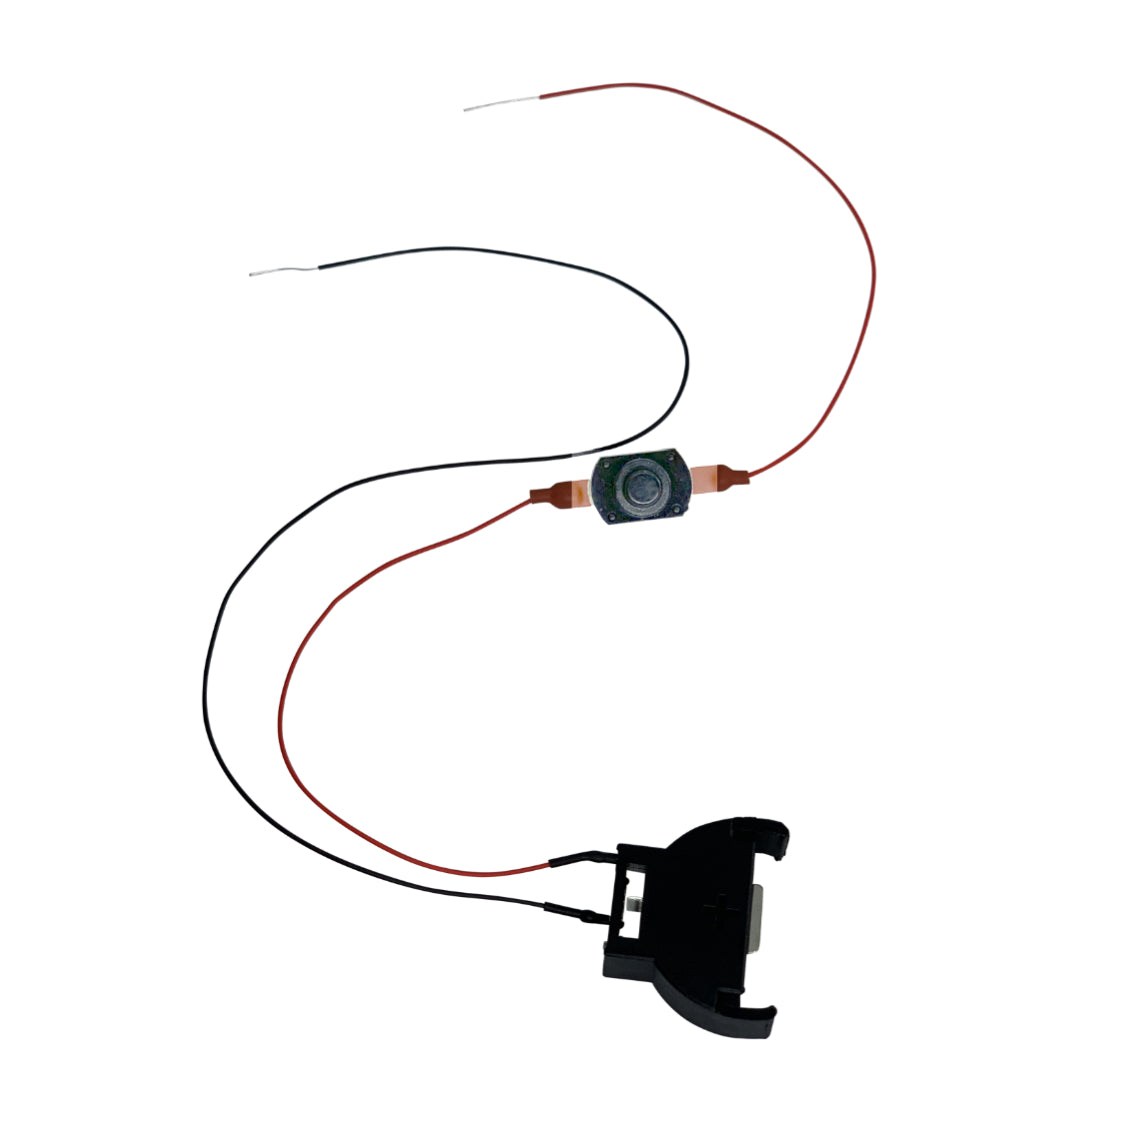
Now, look at your power source. You will see a red and a black wire coming from your power source. In this example, we will be using a coin cell battery holder connected to a chip LED, however other power source connections are the same.
If you are using shrink tube to protect your connections (the recommended method by Evan Designs), then slide one piece of thin walled shrink tube onto the black lead of the battery holder and one onto the red lead. This shrink tube will stay at the base of the wires and be used later in step 5.
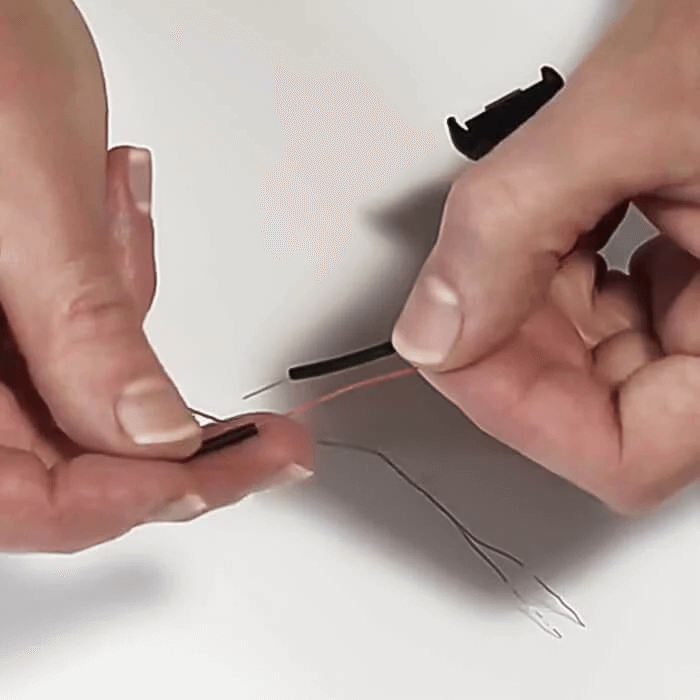
There is a 1/4 inch of silver “striped wire” on the ends of the leads of both your ultra bright LED and your battery pack. Twist the silver part of the red wire on your coin cell holder to the silver part of the red wire on your LED. Twist firmly (3 or 4 twists are suggested) to make sure you have a good connection.
Repeat this with the black wire from the battery pack, attaching it to the green or black wire of the chip LED.
4. Test Your Connection
It is important to test your connection before protecting them so you can identify any issues before the shrink tube has shrunk. It is important to keep the two twisted sections (+ and -) from touching while testing as this can short circuit your micro LED light and cause them to burn out. Insert your coin cell battery in your coin cell holder with the + sign on the battery aligning with the + on the battery holder. Click the micro switch once and your LED should turn on. If it does move on to step 5. If it doesn’t or flickers on and off, re-twist the connections more firmly until a good circuit is established.
5. Protecting Your Connections
If the negative and positive terminals of your circuit touch this creates what is called a short circuit. A short circuit is an unintended path that a current takes with less resistance than would be in a normal circuit. To avoid this from happening it is important to protect your connections, sealing all of the exposed silver wire to prevent it from shorting out your LED.
Shrink Tube: If you are using shrink tube, such as the thin walled shrink tube that is sold by Evan Designs then slide the shrink tube over the connection you twisted in step 4 up from the base of the power circuit. Shrink the shrink tube with a hair dryer, a heat gun, or a hair dryer. You only need to apply a little heat until the shrink tub is just shrunk, avoid heating the LED itself as heat can damage the LED.
Electrical Tape or Liquid Electrical Tape: If you don’t have shrink tube sold by Evan Designs, you can protect the connections of your circuit by wrapping a small piece of electrical tape around the silver part of the connection or painting the connection with liquid electrical tape. Make sure to let the liquid electrical tape dry before you switch your circuit on again.

Now You're Good To Go!
But Wait There's More!
The following items are optional additions to the wiring circuit. If you are looking to add extras such as switches and connectors keep reading below.
Stripping Wires
If you are cutting your wires shorter or adding additional wires you will need to strip your wires before connecting them. Current can only pass through the exposed sections of wires so you will have to strip the cut ends of wires to remove the plastic coating and expose the metal interior. We carry two types of wire here at Evan Designs and don't worry both can be stripped.
-
Kynar Wire (Figure A)
Stripping Knar wire is a breeze, if your LED light has a red and black wire coming from it this is Kynar wire. This wire can be stripped with the wire strippers pictured left or with a knife for the adventurous models. Grab the wire below the stripper to not put stress on the wire attached to the light and pull up.
-
Magnet Wire (Figure B)
If your Chip LED light has a green and red wire coming from it you have a magnet wire. This coating can be stripped off with fine grit sandpaper. Simply rub the coating till you see the interior metal wire exposed.

Adding a Switch
If you need to add a different switch to your circuit you will need to add your switch before step 3. The switch will be added to the positive terminal of your LED. Cut the red leads of the switch to your desired length and strip them before attaching them to the LED. Use steps 3-5 above to securely attach the switch to the LED unit.

Connectors
At Evan Designs we offer 8’ and 14’ kynar wire connectors. These connectors are great for applications where you need to easily connect and disconnect your lighting projects to your power supply. These small connectors come with red and black kynar wire with pre-stripped ends. With one way, two way, three way, and five way connector options the connections are endless.
Because the connectors come with pre-stripped ends, you can simply add connectors to your projects using steps 2-5 above. If you only need to extent 1 or 2 wires or wire groups our single pair Wired Connectors are easier and quicker to put in place than working with wire from a spool
Shrink-Wrapping it all up
If you're new to electronics, wiring your first hobby LED project can feel like a daunting task, but it doesn't have to be! Here at Evan Designs, we have all the tools you need to create a successful lighting project. If you've followed the steps above and are still confused feel free to contact us.
📞Contact our in house support team at 1-888-764-2610. All of our customer service representatives work directly with the product so they can answer any question no matter how technical it is.
📨Feel free to email us at help@evandesigns.com and we will get back to you as soon as possible.
Want to learn more about small LED lights for Models? Check out our other blogs post on fun topics like LED History and What is Voltage? Make sure to comment below and request topics you’d like to see in next months post.
Search “Evan Designs News and How Tos” blog
Recent articles

Leave a comment