
Lighting Gundam Models with Evan Designs LEDs
Gundam models, also known as Gunpla (Gundam plastic models) are models or figurines based on the Japanese military fiction anime created by Yoshiyuki Tomino and Sunrise.
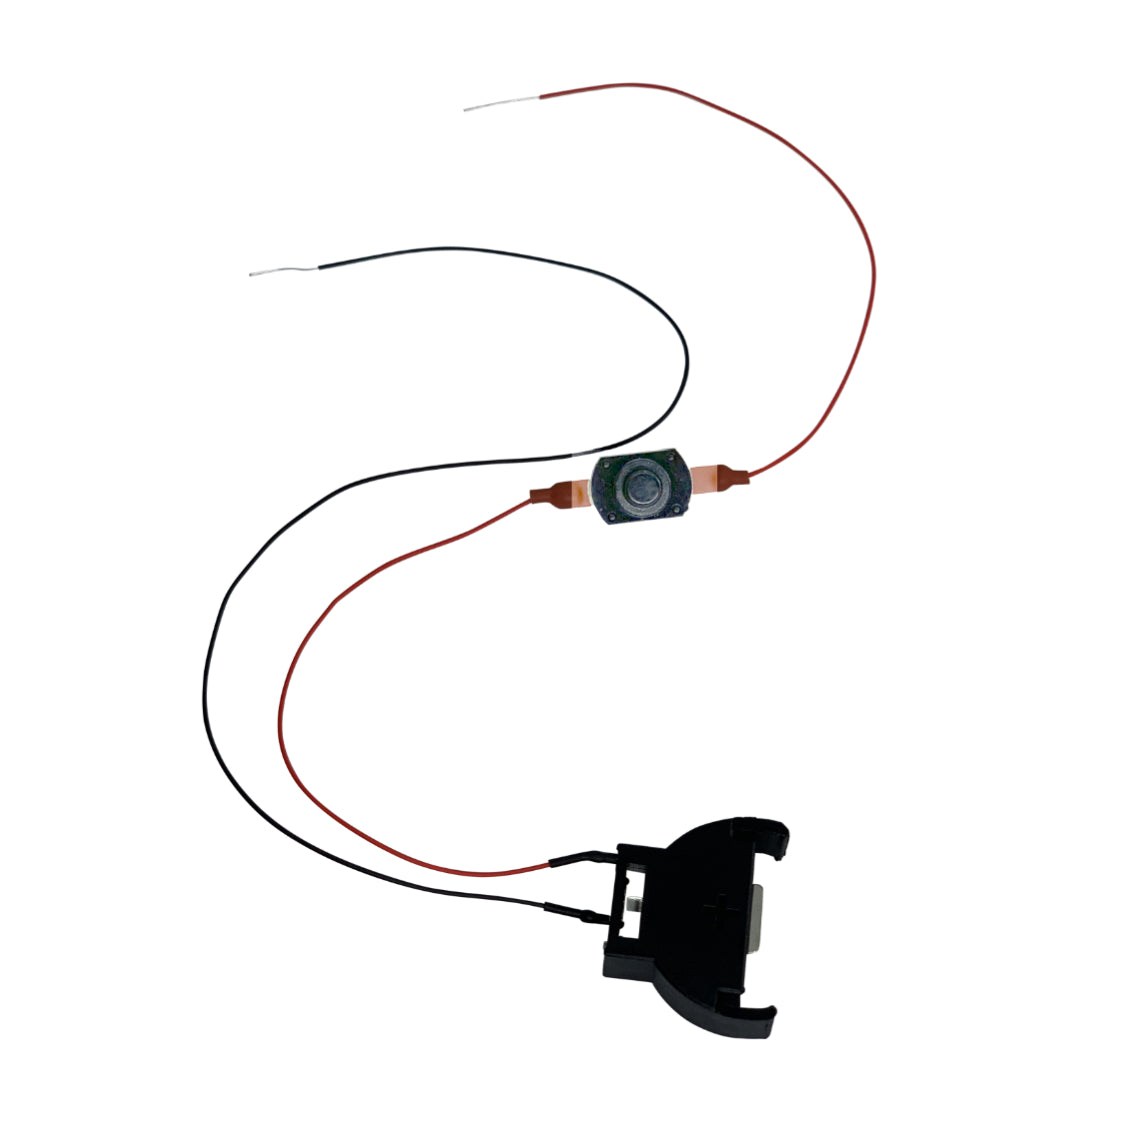
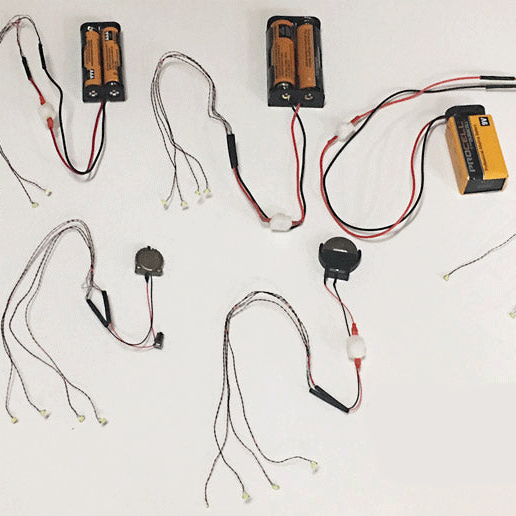
Evan Designs Gundam Lighting Kit
Our LED lights were so popular with Gundam modelers that we decided to start carrying a Gundam lighting kit. This Master Grade Barbados Master Lighting Kit includes:
- 1 green nano LEDs for the eyes
- 1 blue nano LED for the backpack thruster
- 5 red nano LEDs for the shoulders, knees, and chest
- a coin cell holder with on/off switch
- a coin cell
- shrink tube for the connections
All the lights come pre-wired to the correct resistors needed to work off of the included coin cell battery.
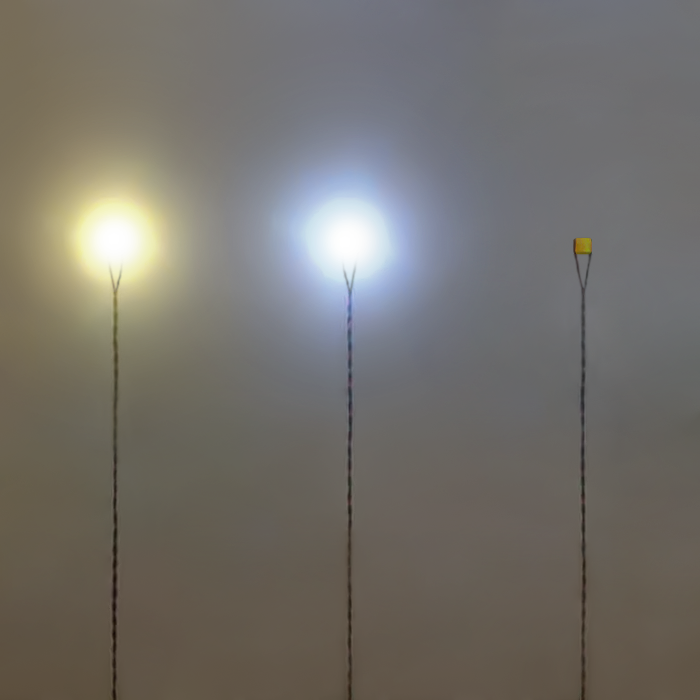
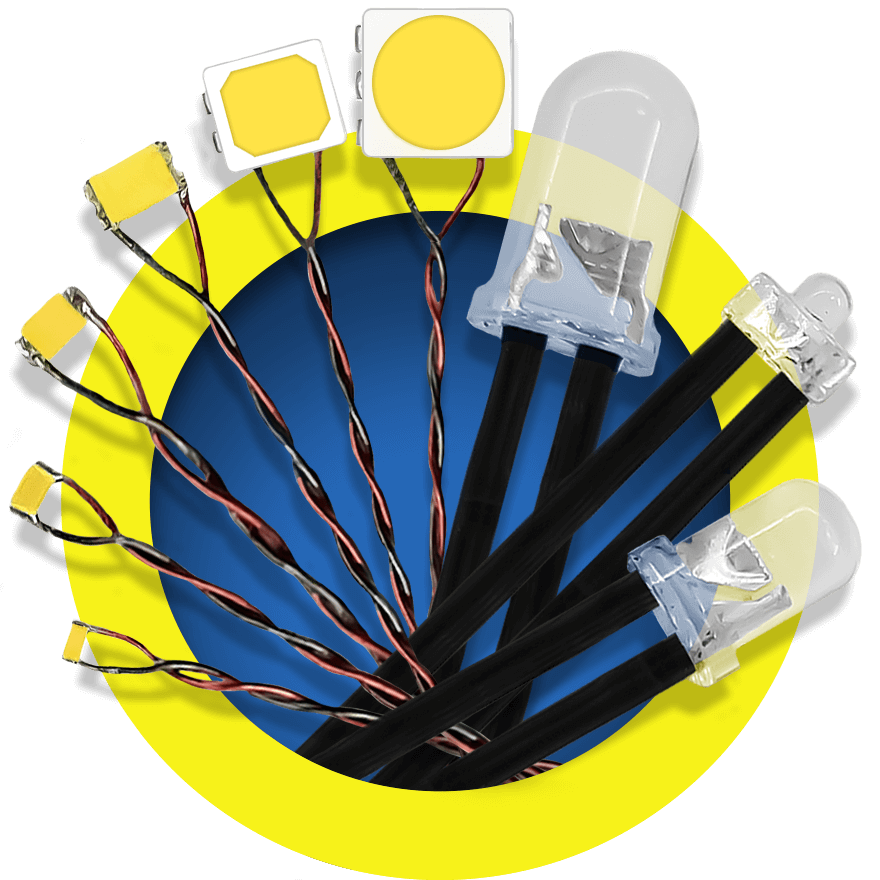
Single Chip LEDs for Gundam
Installing Chip Lights in Gundam Figurines
Now that you have the right LED lights for your Gundam figurine, you are ready to install your mini LEDs. While the installation process is not very complex, it will include drilling, cutting and gluing LEDs in your Gundam Figurine.
Materials for Install
- Gundam Model
We recommend you paint your model before the installation process as some areas will be harder to reach after installation. - LED Safe Glue, such as super glue.
To see all the glues that are safe to use with Evan Designs LEDs check out this article: Gluing Evan Designs LEDs - Hobby or Exacto Knife
- Fine File
- Dremel with small bit
- Black hobby paint and brush
- Evan Designs LEDs

Installation
1. Painting Black
First, paint the inside of the model black at any place the LED light might shine through. Evan Designs LEDs are very bright and will shine through light colored plastics. The insides of the shoulders and knees should be painted black to block light. The inside of the head does not need to be painted black as the LED will be placed in the frame.
2. Drilling Holes In The Head
Starting with the head of the model disconnected, locate the green LED for the eyes in your kit. You will need to drill a small hole in the wall of your gundam head for the LED wires to run through.
See Picture A to the right, the location for the hole to be drilled is denoted with a red arrow.

Picture A
3. Installing The Green LED In The Head
Run the green LED up the neck joint through the hole drilled in step 2. Superglue the green LED on top of the peg hole facing the eyes. Once the superglue has dried, put on the neck joint and assemble the two halves of the gundam head. See Picture B to the right for LED placement in head half.
See Picture C for LED wire placement when the head is assembled.

Picture B

Picture C
Test the light placement by connecting the wires to the coin cell battery included in your Evan Designs LED kit.
4. Installing Red LEDs in the Gundam Shoulders
Start with the shoulder detached. You will need to drill an additional hole to feed the wire through as seen denoted with the red arrow in Picture D right. You may need to make additional space for the LED to be housed with a hobby knife.

Picture D

Picture E
Be sure to run the wire under the shoulder hinge when installing the shoulder back on the gundam model. See Picture E above for correct wire placement.
Once the shoulder is on, run the LED wire behind the piston that connects to the back to keep it less visible. See red arrow in Picture F for wire placement.
Now your shoulders are finished! Let's move onto the next part of your Gundam model.

Picture F
5. Installing Red LEDs in The Chest
Run the LED out through the cockpit door frame and use super glue to attach the LED to the front of the inside of the chest plate. See Picture G. The red arrow shows the gap which the LED wires should be run through.

Picture F

Picture G
Once the super glue has fully dried, reattach the frame parts, put the armor over it and it back on the hinge.
Run all of the wires to the back of the suit. They will all come out between one of the back skirt flaps and the back middle piece. You can wrap the wire around the middle of the frame and run it back if you don't want it visible.

Picture H
6. Installing Red LEDs in the Gundam Knees
Start by drilling a whole in the leg frame denoted by the red arrow in Picture I.

Picture I

Picture J
Pull the leg frame pieces apart and move the wires to the gap. Bend the wire so the LED ends up on that hexagonal shape. No glue is needed in this position, see Picture J.
Once the LEDs are installed, one per knee, you will need to run the wire underneath the leg thruster on the inside of the leg. The wires are super thin, so you can rotate that back down to hide them, see Picture K.

Picture K

Picture L
Take the armor from the back of the leg off and run the wires up and put the armor back on to hold it. From there run it out from between the back skirt flap and the middle piece, see Picture L.
7. Final LED Installation, Blue LED for Backpack Thrusters
Almost there! For the final LED installation, take the backpack thruster piece off the gundam model so you're left with the piece shown in Picture M. Drill a hole a hole where the red arrow is to run the wires from the blue LED through.

Picture M

Picture N
Next on the thruster, drill a hole where the V is pointed, run your wire mostly through, and super glue your blue LED to the top so the light will escape with no issues, See Picture N.


Picture P
Run that through the hole we drilled in the backpack Picture O, and reassemble it, Picture P.
8. Cleaning Up the Wires and Final Tips
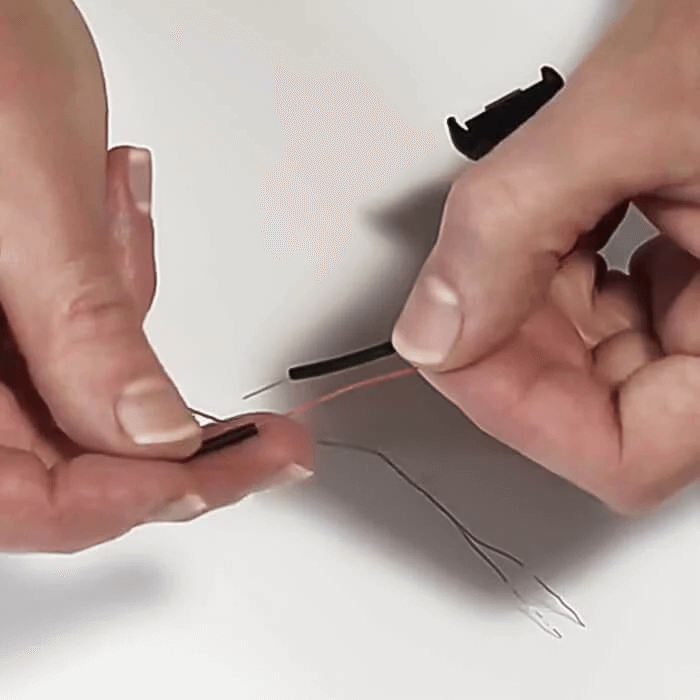
If the wires don't match in length, don't worry you can wrap the longer wires around the shorter wires until they're the same length. Once they're all the same length, run a piece of shrink tube over the wires so the wires aren't exposed. Leave enough uncovered so you can separate all the red and green wires. Next put the shrink tube onto the battery/switch side of wires. Twist the exposed wiring at the end of the wires from the LEDs and then bend it to make a hook, then bend the wires from the switch and battery into a hook. Connect the hooks and bend.
Gently twist them together to get a better connection. Once you've hooked the wires together and tested the switch to make sure they all look right, move the shrink tube that's on the battery side of the wires and cover the connected wires, then heat the tubes up so it will protect your connections.

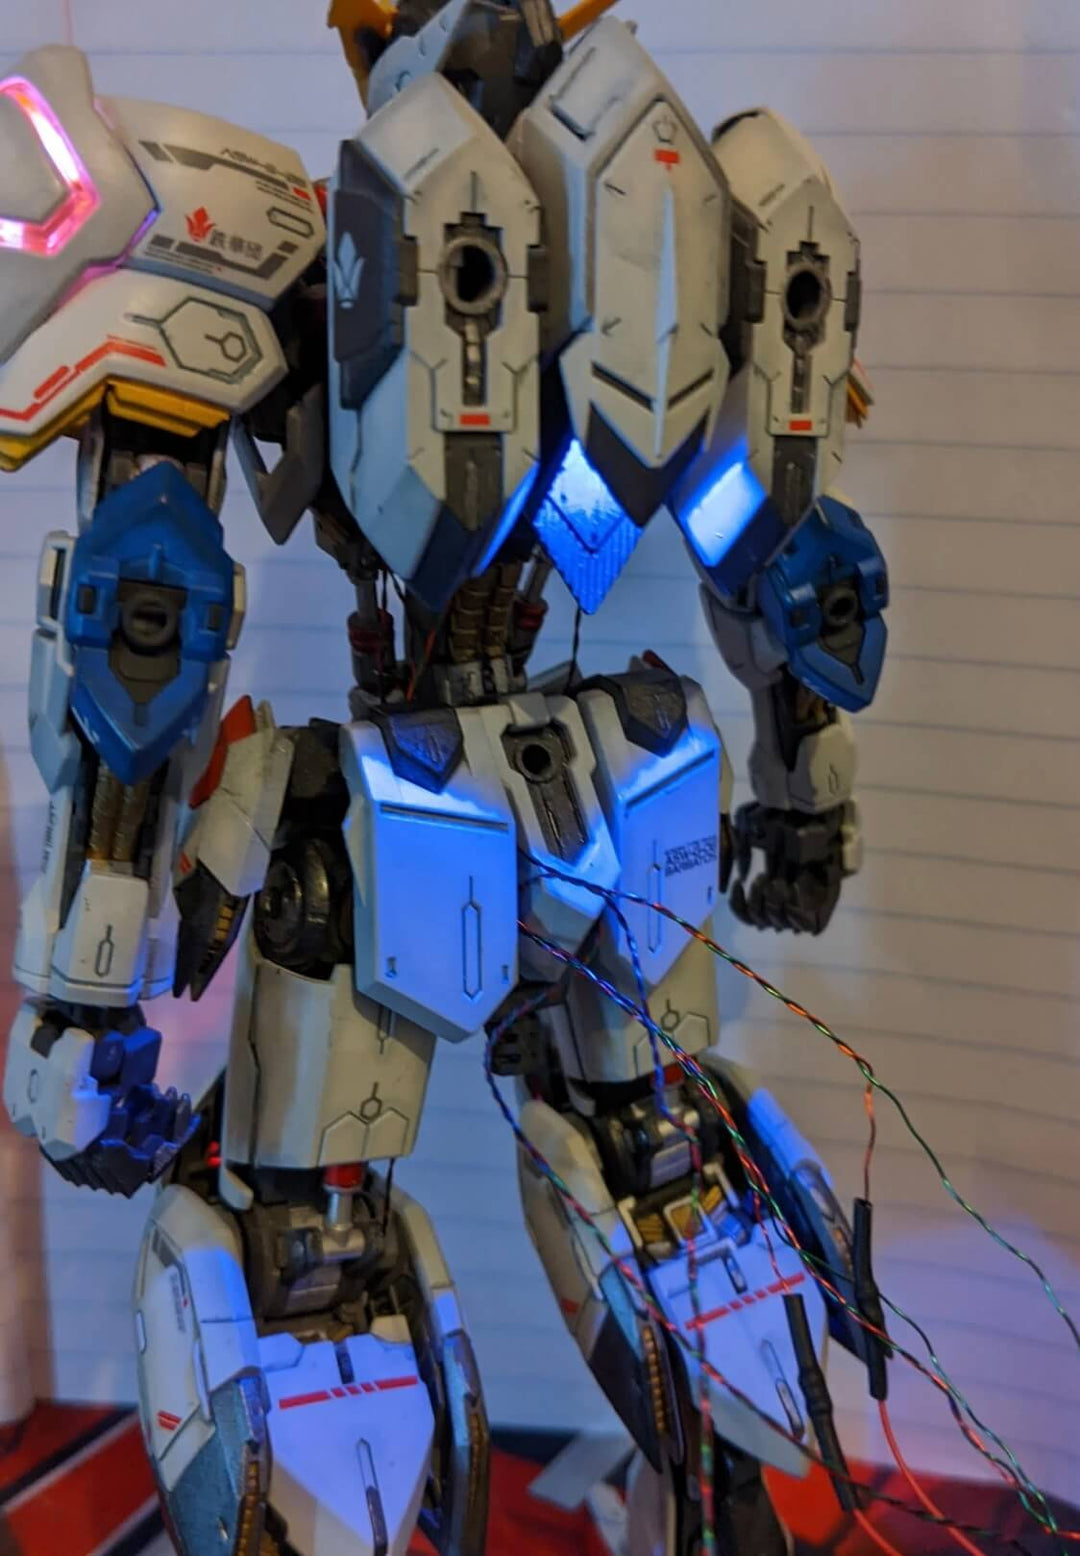
Congratulations you’ve finished your Gundam LED install!
A big thank you to the co-author of this article Austin, @char_aznabear on Instagram. A seasoned Gundam modeler, Austin provided all the photos and most of the descriptions for this article. Use Austin's code “Aznabear15” to take 15% off any order with no minimum purchase on our website!
Make sure to share your very own Gundam installs to our customer gallery and feel free to reach out with any questions at Help@evandesigns.com or in the comments below.
Search “Evan Designs News and How Tos” blog
Recent articles


Leave a comment