Gluing Evan Designs LED Lights

You chose the right micro LED lamps for your project and you received your LED light kits in the mail. Now it is time to install these little lights in your LED project! One of the most popular ways to install micro LEDs in hobby projects is to glue them in place. However not every glue is safe for battery operated LED lights. In this article, we will go over the different types of glues to use with Evan Designs hobby LEDs as well as some tips for your best micro LED install yet.
But before we go over the glues that we suggest, here are the glues not to use.
A Warning on Glues Not to Use
Hot Glue: do not use hot glue on small LED lights, the heat will damage the components inside the micro LED, and your hobby LEDs may no longer work. In testing, we found that LEDs were not as bright after using hot glue. If treated properly we only see LEDs dimming after 100,000’s of use
2 Part Epoxy: Do not use 2 part epoxy such as JB Weld on your battery powered LED lights. As 2 part epoxy cures, it gets hot briefly. This heat is enough to damage the working components of the hobby lights and results in a nonfunctional mini LED.
Polyurethane Glue: Polyurethane glue such as Gorilla Glue cures or dries through a chemical reaction that requires moisture for the foam in the glue to expand. LED battery lights and moisture do not mix so it's best to avoid using polyurethane glue when securing LED chip lights to your hobby projects.
Glues to Use
Now you know what glues NOT to use, let's go over some popular glues modelers use to secure their micro LEDs and their applications.
-
Holding Wax
The first glue is not a glue but a wax! If you don’t want to permanently glue your LEDs in one place, a great option is to use Evan Designs Holding Wax. Our holding wax is made in-house from a blend of beeswax, resin, and a Botanical Oil. To use it simply warm a pinch of the wax by rolling it between your fingers and sick one side to the back of your tiny LED and the other to your model. Holding wax provides great hold and is easy to remove when you want to move your hobby LEDs to a different place. A good application for this would be adding Evan Designs Christmas Light Strings seasonally to your models!
 Multi Colored LED Christmas Light Strings can be put up for the holidays with holding wax and easily removed after.
Another great use for Holding Wax is to tack wire into out of the way locations. It’s fast as there is no need to wait for the glue to dry. Also if you change your mind about wire placement it can be repositioned.
-
Tacky Glue
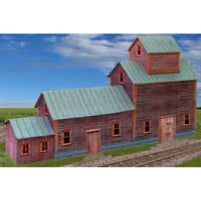
Tacky glue is our favorite glue to use and it is easy to find in any craft store. This permanent glue dries clear and adheres to a variety of different substances such as wood, metal, glass, ceramics, plastic, and fabric such as used in costumes. This means that it is perfect for a variety of different hobby projects, model layouts, and more. To use, simply add a small amount to the location you want and attach your LED. Some great examples of tacky glue applications are: adding police car lights to your diecast car, doll house lighting, and installing micro LEDs in HO scale buildings.
You only need a small amount of glue to make the connection and try to avoid getting glue on the LED light bulb. While the glue dries clear, it can dim the miniature LED a small amount. Make sure the glue is completely dried before connecting your LED to power to avoid damaging the electrical components of your LED hobby kit. A popular brand of tacky glue for hobbyists is Aleene’s Original Tacky Glue.
-
Super Glue
Our next favorite glue to use with Evan Designs Hobby LED lights is Super Glue. This glue is perfectly safe to use on single LED lights and is a fast acting adhesive that dries clear. Super glue has excellent holding properties on a variety of different surfaces making it a great choice for modelers and hobby enthusiasts.
-
Tape
Also not a glue, but a simple and easy option for many modelers. Clear scotch tape can be used to secure micro LEDs in place and removed at any time. Remember that all sizes of Evan Designs LEDs do not get hot, so you don’t have to worry about damaging the hobby LED with tape.
For example, we used scotch tape when installing small LEDs into doll houses. We create a false ceiling using Bristol Board and drill holes in it for the Evan Designs Bulb Style LEDs to poke through. We then secure the back side of the mini LED with scotch tape so it does not move during the installation process. To read more about this method visit our article: How to Install LEDs
 Evan Designs 1.8 mm Warm White tiny LEDs installed into a false ceiling and secured using scotch tape.
The Final Product: Recessed ceiling lighting in a doll house!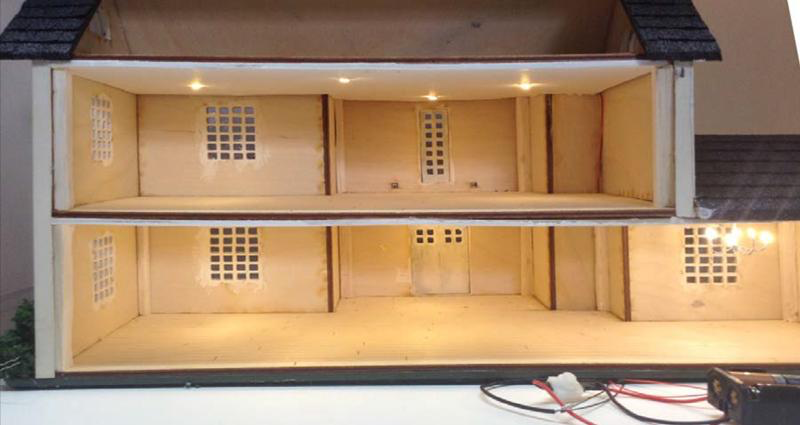
-
Silicone Glue
Silicone Sealant or Silicone Glue can be used to protect miniature LED lighting kits from wet environments. Use a good amount of silicone glue to cover the small LED in its entirety as well as its wiring to protect it from moisture. Situations in which silicone glue can be used are; using mini LEDs outside, using micro LEDs in fish tanks, garden railways, or damp environments such as the refrigerator. It is important to let the silicone glue thoroughly dry before applying power to the high intensity LED.
Additionally, Silicone Glue can be used to simulate a candle flame with an Evan Design’s flickering bulb LED such as our 3mm, 5mm, or 1.8mm. Simply add a thick drop of Silicone glue to the top of the flashing LED and shape it into a peak. The silicone will dry clear over the flickering LED, and the light will dance up into the silicone, emulating a candle flame.
-
UV Resin
As we mentioned earlier, it is not a good idea to use Epoxy Resin, as it gets hot as it dries and the heat can damage the structural components of the mini LEDs. A way around this is to use UV resin. Instead of heat curing, UV resin is cured by UV light and involves no heat, keeping your tiny LEDs safe in the process. The resin is in a liquid state until you apply UV light. The UV light causes a structural change in the UV resin and turns it into a hard plastic-like material.
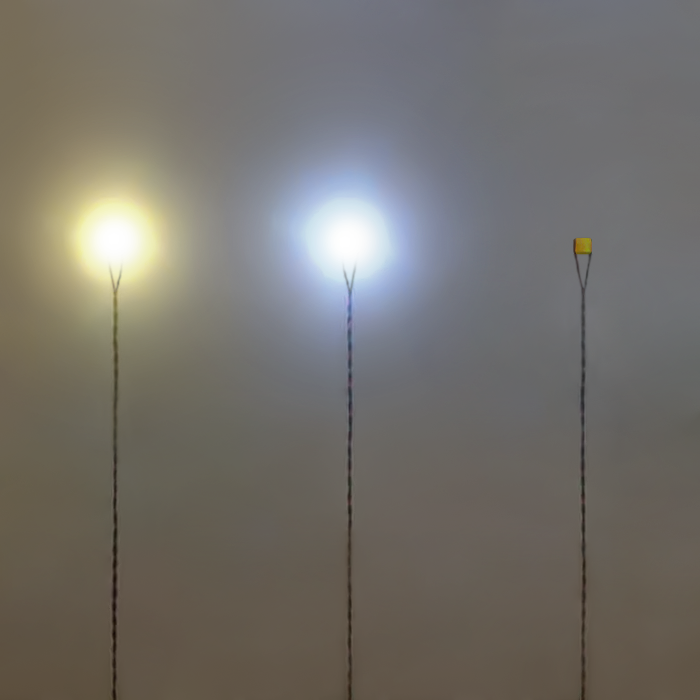
Useful applications of UV resin can include models where you want a plastic-like casing around your hobby LEDs or want to embed your pre-wired LEDs in plastic. The light from the 3 volt LED will shine through the UV resin with no issue because it dries clear. Do not apply power to your ho scale LEDs when the resin is wet, allow it to fully dry. An additional benefit to resin is you can tint the resin to add extra color to your project. Keep in mind that red tinted resin with a Cool White LED will appear to shine pink when lit.
-
Wood Glue
The final glue that we will cover is wood glue. Wood glue is perfectly safe to use with any size LED from Evan Designs and is a great choice for any modelers that want to attach their micro LED lights to a wood surface. Wood glue is strong and water-resistant, however, keep in mind it does not dry a clear color like the other glues we have mentioned in this article. Wood glue will dry a natural brown color to match the color of the wood. If this glue gets on the lens of the small LED it will impede light shine, resulting in your ultra bright LEDs looking dimmer. That being said, if you plan to model using hobby LEDs and wood, it is fine to use a different glue such as super glue or tacky glue to bond them.
That covers all the glues we use here at Evan Designs. If there is a glue you would like to use that we have not covered here's a quick check you can use to see if your glue is micro LED safe. See if your glue uses or produces heat or moisture as both of these components will damage a battery operated LED light. If neither is true of your glue, you’re safe to use it on all your mini LED hobby projects. Have more questions about glue? Feel free to let us know in the comments below and share what your favorite glue is to model with!




Leave a comment