

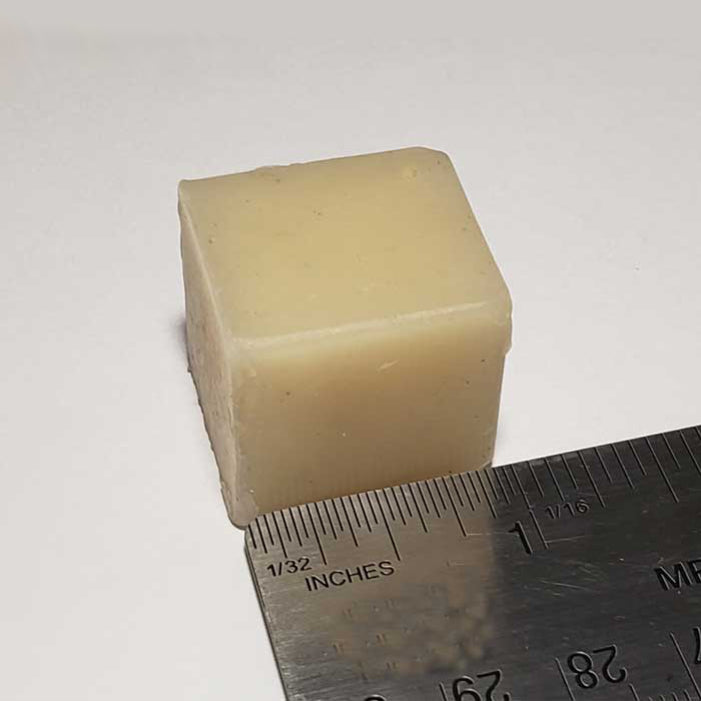
This tacky wax has very good holding power. You will find you need less than you think. This small 1-inch block will be all you ever really need!
- Start with a minimal amount, a little bigger than a poppy seed
- Work and warm the tacky wax between your fingers to soften it.
- To stick chip LEDs put a small amount of wax on the back (unlit) side of the LED and push it onto your surface.
- If your LED will shine through a Lens or a Window: put the wax on the front of the LED and push it onto the model.
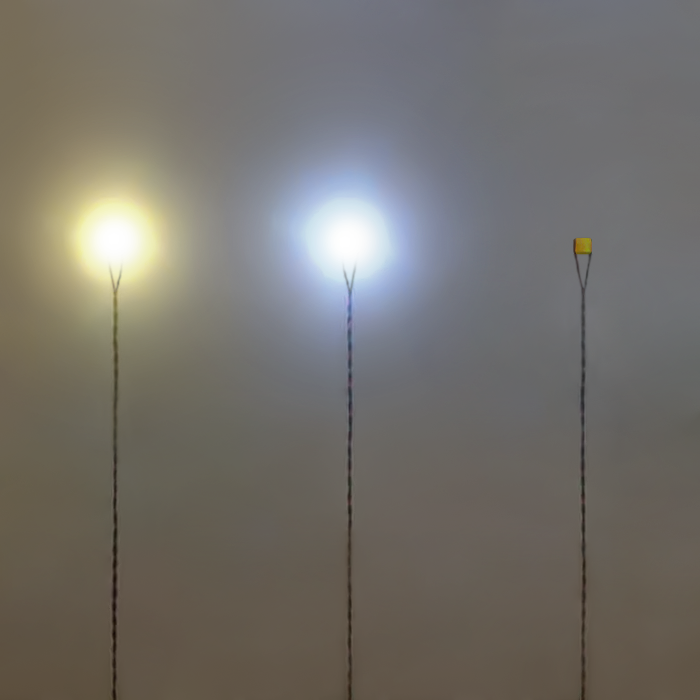
- LEDs will shine right through the wax without a noticeable loss of brightness.
- And since LEDs do not get hot, the wax will never melt.
- When cool, the wax is nice and strongly adhered.
If you ever need to remove the LED for some reason, you can slice it off with thread.
Here are ways that we use Holding Wax when making Projects with LED
- With our surface mount LEDs (Chip, Nano, Pico, Z, and Mega) you can put a small amount on the backside and push the LED to your model's ceiling or other surfaces.
Initially, this is a non-permanent solution like a sticky note allowing the user to test different positions without leaving glue in any place. Eventually, a small amount of tacky wax will harden up. - The holding wax is a great way of tacking up LED wires that are hanging into an undesirable location
- Tacky Holding wax is great for fitting an LED into an oversized hole or mounting a square LED in a round hole or a round LED into a square hole.
- This tacky Holding wax lets light pass through, you can place a small amount of wax on the front surface of one of our Surface mount LEDs and press it to the backside of a lens or other clear material and the light will shine through
You may also like

Recently viewed