

Model Builder Buildings Gallery
These great photos were sent to us by modelers who are using Model Builder
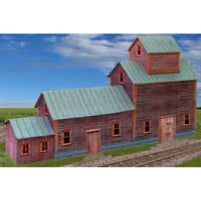
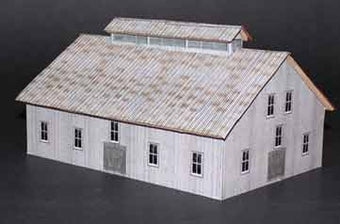
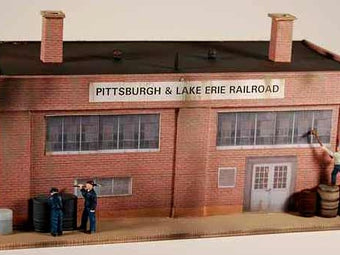
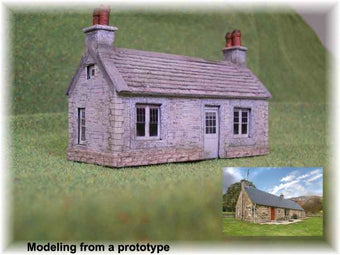
Roadhouse
The building is long, tall and narrow to provide an imposing frontage at the track level. Depth of building is restricted to conform to limitations of space. The main structure is 19" long, 10.5 inches high - without the platform that it will sit on - and 4.5 inches deep. With the staircase to the 2nd story offices and the ticket booth at the opposite end of the building its 22" long. The dispatchers windows/office is on the second floor and overhangs the platform. Except for the chimney pots, small smoke jacks, the stair handrail and the window material its all paper - poster board - backed by 0.10 chip board.
Thanks to Joel Franz for this great O scale Building picture!

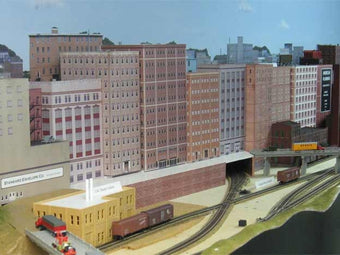
old city building
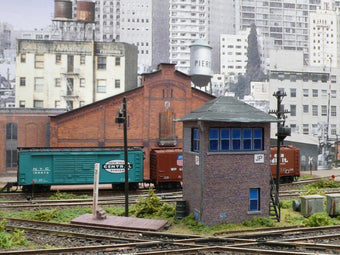
Interlocking Tower, other buildings are not from Model Builder
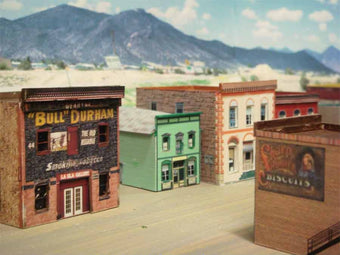
Great old west town. Buildings made using the layering method. Cut out windows and doors on one copy and put a second uncut copy behind
see  click for pictures of this town all made with Model Builder
Here is a project I made with just brickyard. Great software!
Dave
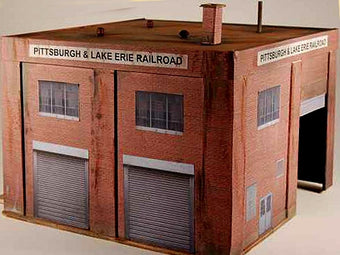
"I should have a series of wmf files suitable for import into Model Builder within the next few months. I want to introduce several all at once in that format. Here is a new project that I have done recently by importing a wmf file into MB. It’s a machine shop belonging to the East Broad Top Railroad in Pennsylvania, and should be on our website in July. The roof is one of your rusted metal patterns, and it is actually “corrugated”. I’ll be doing a tutorial on that soon."
Regards Tom Carson Scale Model Plans
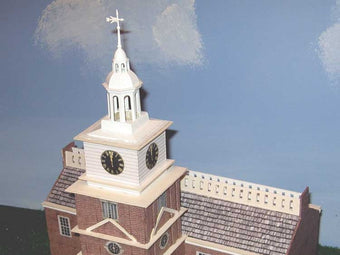
Independence Hall: I am attaching some pictures of my attempt to make a model of Independence Hall. It took a lot of time & thought to put this together but your wonderful brick paper & the import feature included in model builder made this possible. I started using matte board reinforced with 1/4 inch balsa wood. I put it together in sections and imported the windows from a web site. I imported the entrance to the building from web pictures of the hall and sized them to fit the building. I can't say enough good things about your model builder. It is fantastic.
See more of this building !
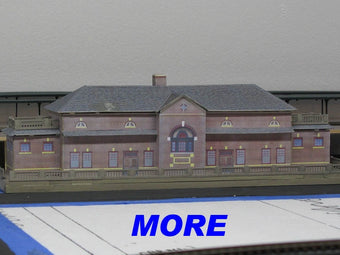
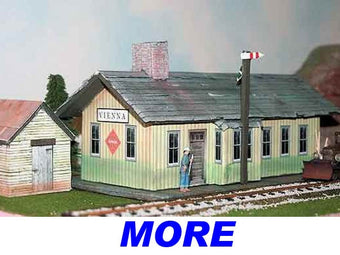
train station, click to see more pictures of this great project! Train Station!
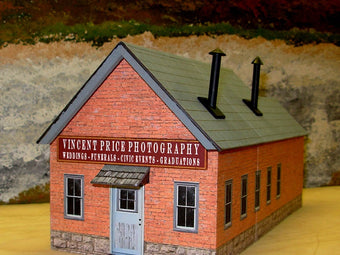
HO scale Vincent's by MMR Dave Roeder

street scene, buildings made with Model builder please click to see more pictures of this great project! Street Scenes!
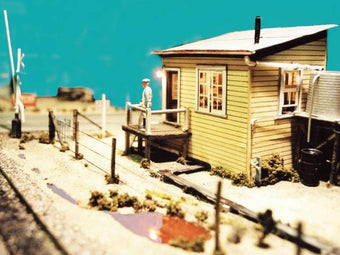
waiting for the train
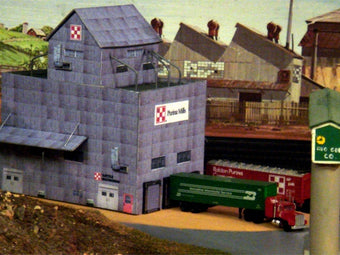
Purina Mills factory building
Great project Learn click to read more!
Great factory structure for any layout
>Train Station Read an
Model Builder workers keeping up the maintenance jobs
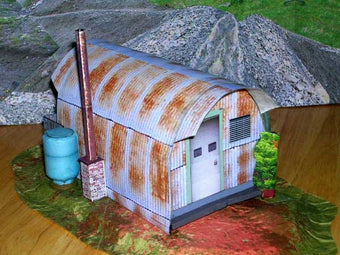
a nice metal quonset you could see anywhere. Using "metal sheeting" from Model Builder's rusty metal palatte
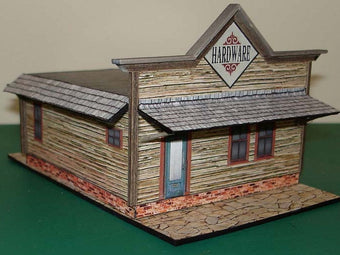
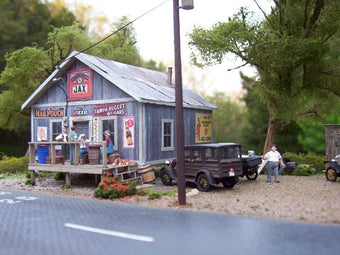
Hardware Store, model builder makes it easy
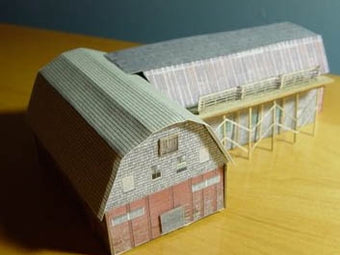
Sardine Cannery from Maine!
Lots of Model Builder buildings on this busy scene
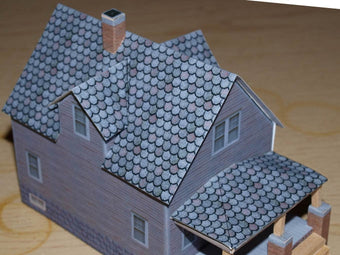
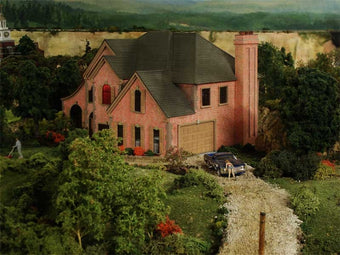
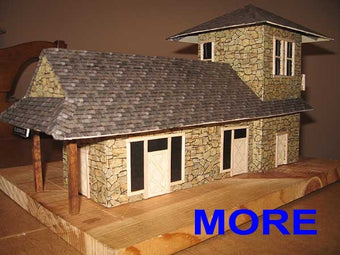
Sears House, made using the Sears book plans
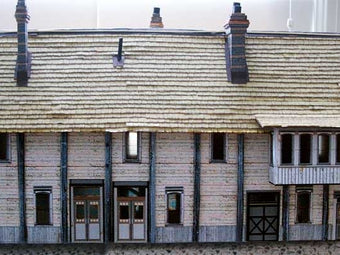
As promised, here are some photographs of my first attempt with your program. I am really happy with the outcome. The model was based (loosely) on the photo that I downloaded from Google. I took a hint from John Wiffen’s models for the roof. I extended the tiles downwards by about 1mm for each row. After sticking them into thin card I cut each row separately 1mm above the front edge of the tile. I then stuck each row down separately, starting from the bottom and overlapping by 1mm. This let your “shadows” show but also gave a realistic profile for the tiles. The walls are two layers of card, with the windows on the inner layer and the outer layer cut out to reveal them. I also ‘glazed’ by also printing the widows onto clear plastic and carefully superimposing them. I reckon the whole thing looks pretty authentic, so thanks for your software. I am now free to design a whole village, based on where I used to live in Scotland 45 years ago! Regards, Peter Meadows
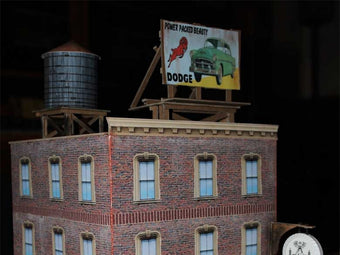
"I attached a photo of my first model (0 scale) using your software. It is 99.9% paper accept for the round sign hanging off the front of the building, which is a key chain. I am very happy with the results, and am already designing my second! "
Thanks Jack