

Crown Fit for a Queen
My mom is the crown jewel of our family, so what better way to celebrate her birthday than with a sparkling, twinkling crown?
The first step for this project was picking a crown. I found this one on Amazon for about $17. This was a great deal considering it’s metal and doesn’t look or feel like cheap plastic. I wanted something that would last and hold up to some wear and tear.

image from the online listing

My photo of the crown that came in the mail
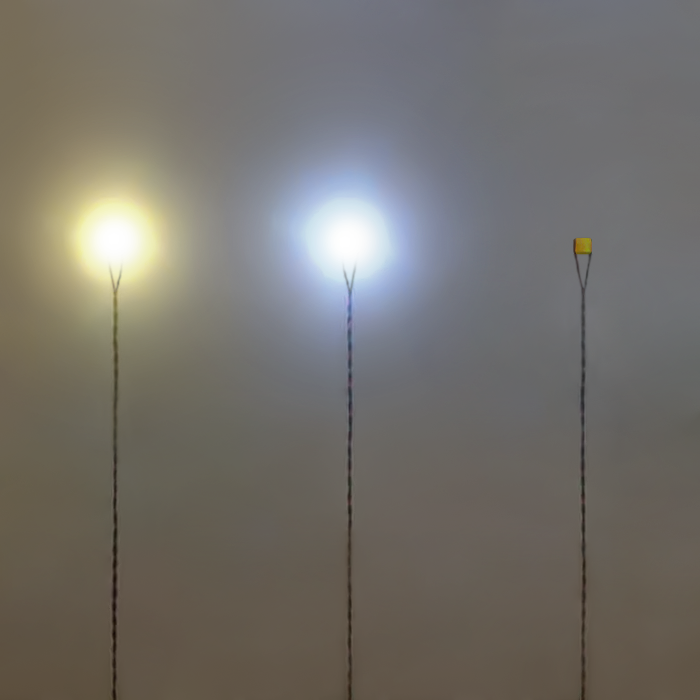
Once the crown arrived, I started thinking about what to use for lighting. Because I work in the Evan Designs workshop, I was able to experiment a little with different effects and figured out exactly what I wanted: light strings. I chose cool white for the color and nano for the SMD size because I wanted to keep the color scheme of clear jewels and silver metal and needed LEDs that would fit between the jewels. Using both flashing and solid LEDs would keep the crown illuminated (solid strings) while also giving it a bit of a twinkling effect (flashing strings). The cool white flashing strings were custom ordered for this crown.
Then came the difficult decision: how to attach the lights to the crown. Installation methods for LEDs vary from project to project based on space limitations and power supply. For the crown, I chose to use some lightweight black felt, which was approximately 50 cents per sheet (8.5 x 11”) at a chain craft supply store. This material provided some cushion between the wearer and the pointy metal of the crown and would easily hide and protect the wiring between the layers.
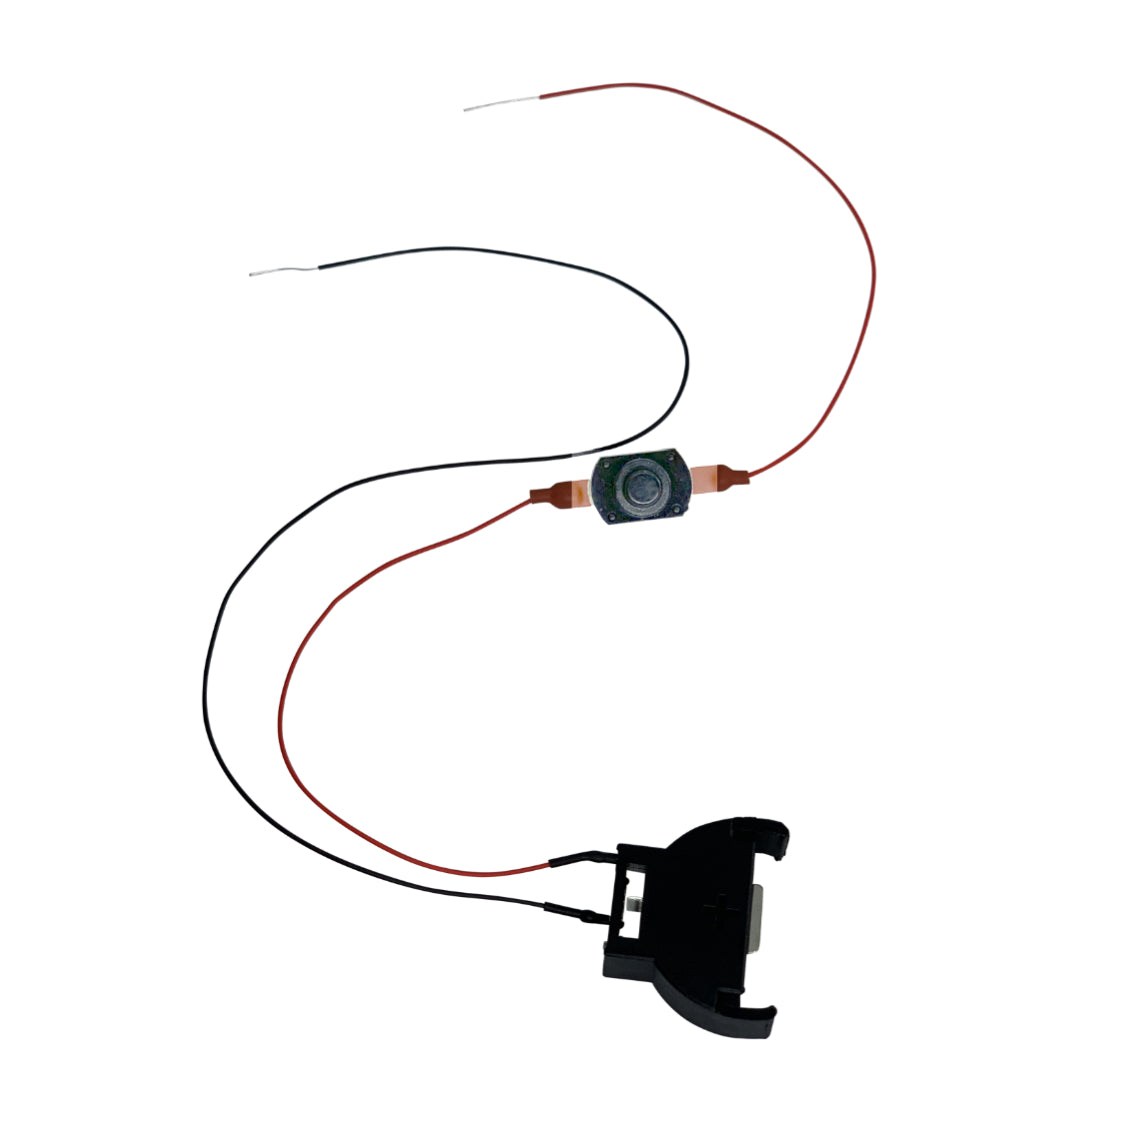
I first combined the four strings into two strings by twisting the stripped ends together (1 solid string + 1 flashing string = 1 solid + flashing string). Gently twisting the two strings together made everything just a bit neater. I also made some small, loose knots in certain strings to even up the lengths a bit and shorten the wire between the first light and the stripped wire. One AA battery holder with switch would provide more than enough power for all of these lights (more than 50!) while also being small and light enough to easily hide behind the bulk of the crown.
Using the crown as a guide, I cut the felt into a rough boomerang shape. I slowly twisted the wires into the arrangement below and sewed the strings into place using just a needle and thread and a lot of patience.


Once the strings were sewed in place, I tested them to make sure I hadn’t damaged them during installation. They were still as bright and beautiful as when I had first tested them!
Here’s where I made my first mistake: I heated the 1/16-inch shrink tube to secure the connections before I had attached the fabric to the crown. Attaching things in this order made assembly a bit more difficult because I had to navigate around the battery pack, but it also made testing often easier.
Mistake #2: Gorilla brand superglue was handy, so that's what I used to attach the fabric to the non-jeweled side of the crown. This type of glue is a cyanoacrylate (CA) glue, which melts cotton and wool, so this was a big problem. The felt I used melted and even smoked. A better glue to use for this fabric would have been original formula Gorilla glue, which does not react chemically with fabrics. I was very careful not to let any of the chemical reaction from the superglue and the felt get near the light strings; heat that intense will damage the LEDs and ruin my whole project.
Mistake #3, and hopefully the last: I glued the fabric to the crown without realizing that the metal of the crown was conductive. Immediately after the fabric was completely glued and dry, I tested the lights only to find that they wouldn’t turn on. Having worked with these lights often at work, I knew that the LEDs could short out (i.e., not work) if the back of even one LED was touching a conductive surface, like the crown. Extra felt pieces between the LEDs and the crown provided a cushion to keep the LEDs from shorting again. If I did this project over again, I’d cover the back of the crown with a layer of non-conductive material, such as electrical glue or clear nail polish.
With the fabric attached to the crown, I cut off the excess and folded over the edges and sealed those with more glue. Through this process, I also learned that the fastest way to remove superglue from skin is by peeling it off. Next came the process of attaching the second layer of fabric. The battery pack needed to be easily accessible so that batteries could be replaced. Leaving a flap open at the top was the easiest option I could think of without risking the battery pack and wires falling down or out the side of the fabric, so I carefully glued the second sheet of felt along the bottom edge of the crown until I had a good seal. I glued and cut the second layer of felt from the bottom edge toward the center top of the crown, being careful to check that the battery pack still fit. Once I glued the edges on a reasonable amount, I inserted the battery pack with batteries installed into the crown’s new pocket and carefully placed the wires around the pack.
And with that, the crown was finished! With more practice and patience, I’m sure I could have made the edges cleaner, but I’m very satisfied with the results.
