More Tips from a Model Builder User

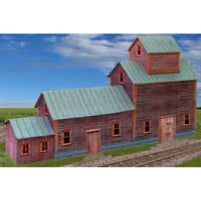
Thanks to Gene from California for these great tips! Gene has been using Model Builder for over a year now and has come up with some great modeling tips he wanted to share with everyone.
- The "Carl Craft Cutter", Model CC-10, using the perforating blade or the scoring blade is very handy for scoring bend lines in Model Builder print-outs for a tight 90-degree fold. The regular cutting blade is good for cutting out the design, or you can use one of the pattern blades for scalloped edges like on an awning or Victorian trim.
- The Zig Glue Pen is available in every size from fine point like a ball-point pen for precision gluing, to a chisel tip like a broad felt pen, to a roller for full-page gluing applications like on a background I have made with Model Builder. If you stick the paper together while it is wet, the glue becomes permanent. If you wait until the glue dries, the print-outs are re-positionable. I found it at Jo-Anne Fabric & Craft but it is probably available at many craft stores that carry scrap-booking supplies.
- I even use Sharpie markers to touch-up some of the edges of Model Builder buildings, or add some detail by hand. I just heard about some specialized Sharpies that might be especially suited to buildings: Available in a 3-pack of light, medium, or dark wood. For example: Sharpie Assortment Or a 9-pack of varied wood colors: Chartpack Assortment Or even metallic colors to touch up the trim. Available in Gold (for bronze fixtures) or Silver (for aluminum siding). Metalic Sharpie
Thanks again to Gene for these Great Model Builder creating buildings tips!
