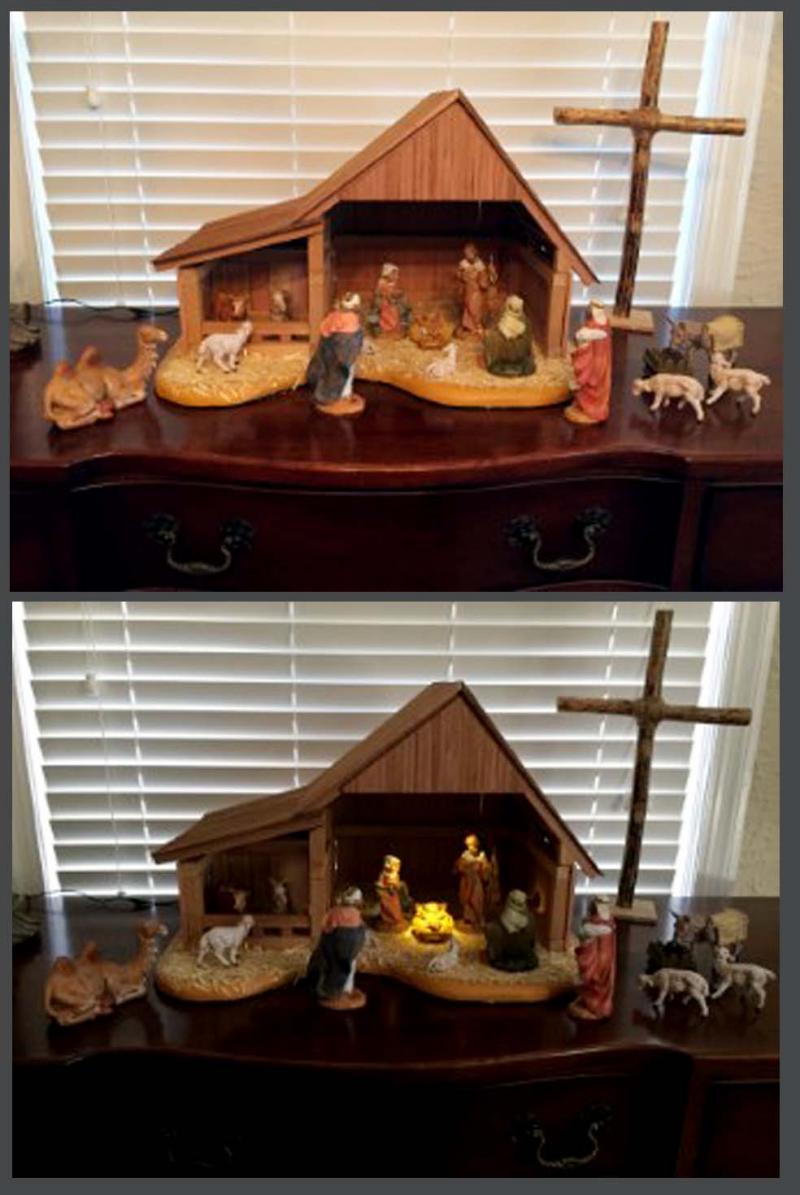
Nativity Unlit

Dave,
Thank you for your help with wiring my nativity. I have sent you photos and a video:
1.) NativityUnlit - The nativity under natural exterior light, with no interior lighting.
2.) NativityLit - The nativity under low exterior lighting and with interior lighting.
3.) NativityVideo122917 - Is a short video showing the various levels of interior lighting, cast on Mary, Joseph and the Baby Jesus, using the remote control.
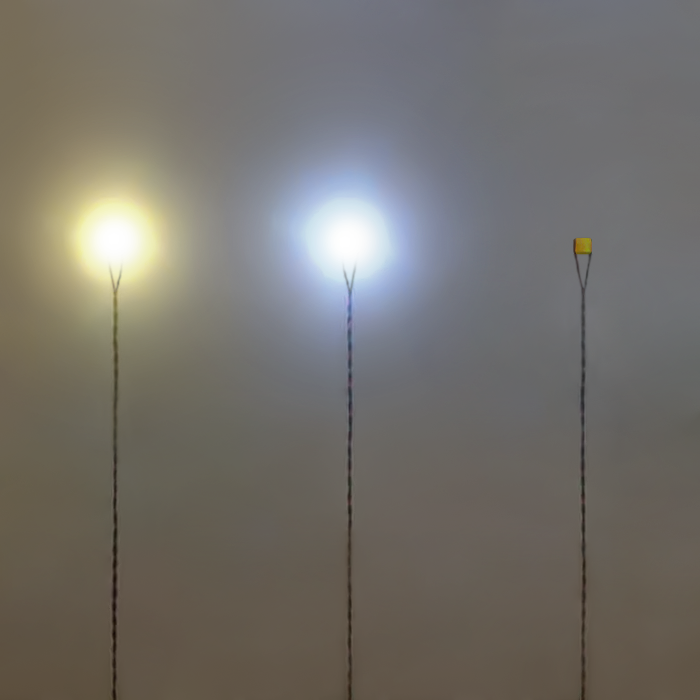
4.) OpenLight - A 5mm LED attached to a post, shining on a surface 6 inches away. This shows the spread of the projected light on the reflected surface.
5.) SpotLight - The same 5mm LED that I have slid a 1"" long section of heat shrink tubing onto, showing a more focused pattern of light on the reflected surface.
6.) WireSupport - The solution I came up with for securing the delicate wires to the manger's wooden beams was to cut a section from a safety pin and bend a crook in it, (like a sheppard's staff). The sharp, pointy end makes it easy to push into the wood with a pair of pliers, while applying just the right amount of force, without damaging the wires. In my opinion, better than staples.
7.) NativityRoofView & NLiights - both show the wires and 'spotlights' hidden under the roof.
I have really enjoyed wiring this project using your products and look forward to future wiring projects using LEDs.
P.S. Taking a serious look into getting started with Arduino. Looks very interesting.
Thanks again.
Rory


